Grand Designs
I’ve done a bit more work on the model now. Well, it’s finished! The idea is to have a bit of a broken down look at the top, hence why it’s uneven.
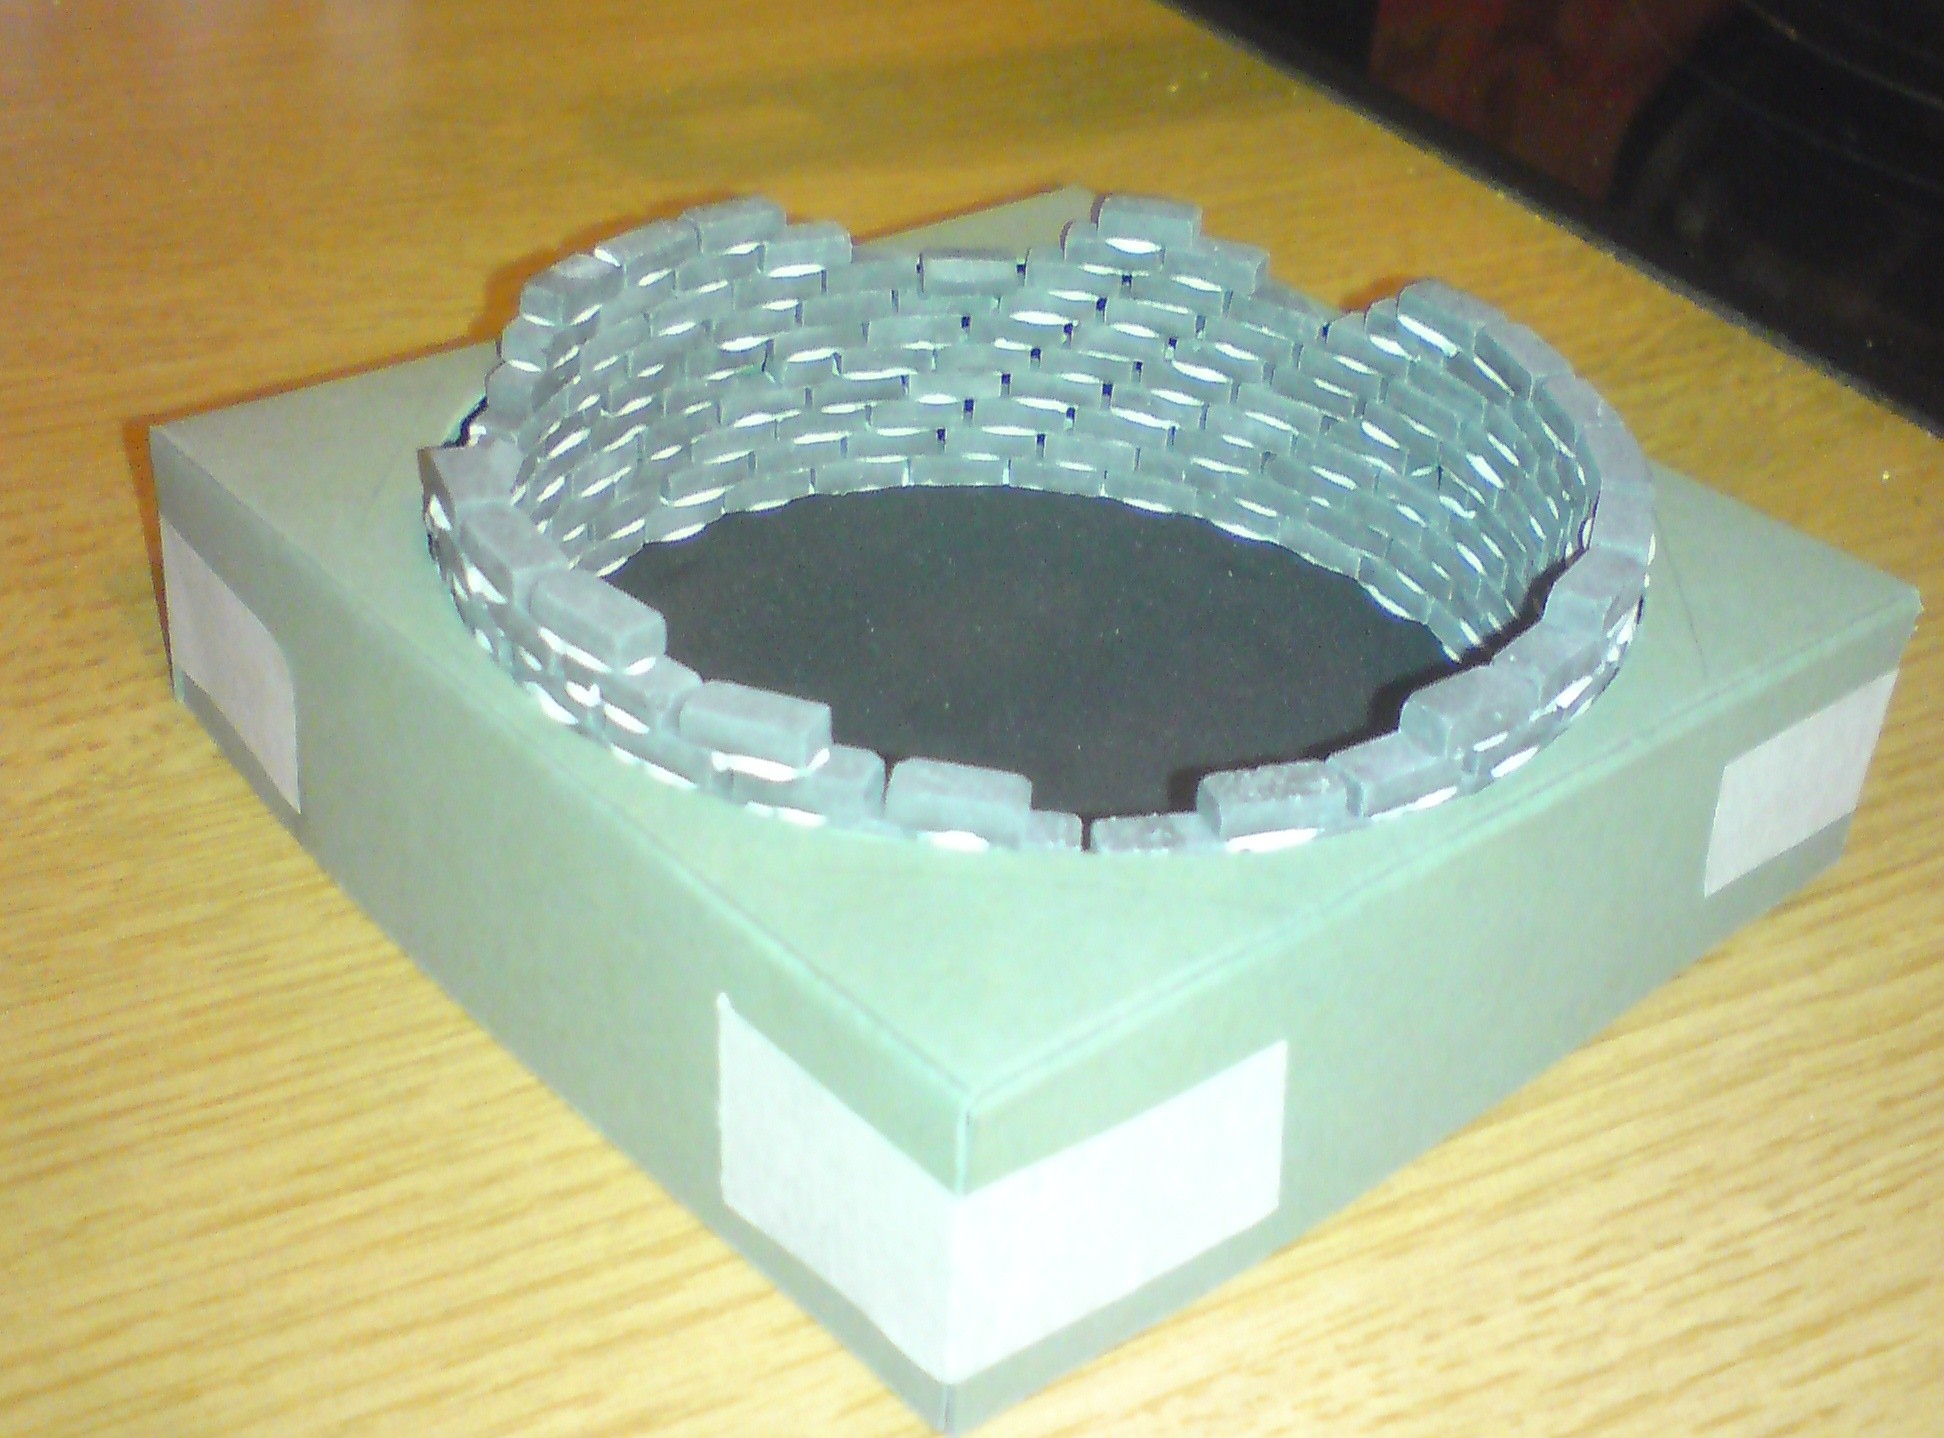
The green box made from card is supposed to represent ground level to show how it will look when it’s ‘sunk’ into the ground. Working on this model has made me think that a single ‘wythe’ of bricks (that’s the side-by-side rows of bricks) won’t be strong enough to contain the water once it’s full.
With that in mind, I’ve doubled up and done some outlines using Microsoft Visio and this taught me one thing. No, not “don’t use Visio”! It taught me that the pond isn’t going to be ’round’. It’s going to be an x sided polygon. x will depend on the diameter of the pond, the length of the bricks, and the size of the joint between bricks. We’re aiming for an internal diameter of about 2 metres and a joint size of around 12 millimetres at the narrowest point.
The first is using a ‘stretcher’ bond. That’s where the ‘stretcher’, the long side of the brick, is visible.
The main problem with this layout is the way the joints line up between the wythes. When the joints are inline between the inner wythe and outer wythe it could be a weak point and a source of failure.
Next I went with a ‘flemish’ bond. This is where the bricks alternate between ‘sretchers’ and ‘headers’, the shortest face of the brick. This creates a nice pattern, but as can be seen below, it presents problems on any wall that isn’t straight.
In order to keep the joint spacing as even as possible, the ‘stretchers’ on the outer wythe have been cut in half. This is going to be a lot of work! But the plus is, it uses less bricks than the stretcher version.
The final configuration I looked at is ‘header’ bond.

This also uses just 54 bricks, looks good, but also keeps the joint spacing regular without the need for any cuts.